

Injection molding is an efficient manufacturing process for mass-manufacturing plastic parts and a critical aspect of the injection mold process is mold designing. When designing the mold, you should note that the surface finishing is largely dependent upon the mold texture.
Texturing of the mold entails creating a variety of patterns on a product’s surface to often increase the aesthetic and visual appeal of the product however; it is also incorporated for various functional reasons, as well. Mold texture directly impacts the finished surface of the mold and indirectly impacts the part’s reliability, performance, and durability. In this article, we discuss mold texturing, its consideration factors, and the manufacturing process in detail.
A mold texture is a specific surface pattern that imprints on the molded parts. The process, mold texturing is also known as graining and it is a process of creating patterns. It is the process of applying chemiosmosis to create pattern varieties on the metal surface such as stripes, images, satin patterns, and wood and leather grains.
Mold texturing imparts a unique feature to the molded plastic parts. This technique supports extensive functionality which enables designers to choose from a variety of textures.
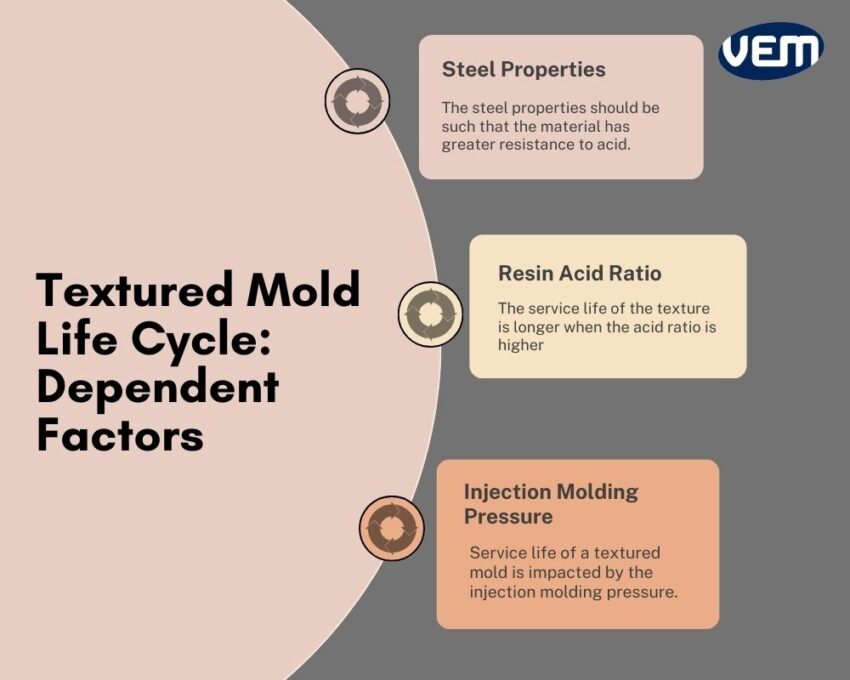
The life cycle of a textured mold is dependent upon the following factors:
Surface texture in manufacturing is the 3-dimensional topography of a part and some of these textures are regular patterns. The process of surface texturing involves the creation of a wide array of patterns on the part’s surface. Three terms are used to describe surface textures and they are listed below:
The lay of a surface finish is the general direction of its pattern. It’s created through the process used in making the surface such as milling, sanding, grinding, etc.
A machine tool creates a waveform when it moves over an area. The waviness occurs due to repeated cyclical vibrations on a workpiece.
Surface roughness is caused due to the interaction between the cutting tool and the surface. Roughness could also occur due to random or chaotic cutting.
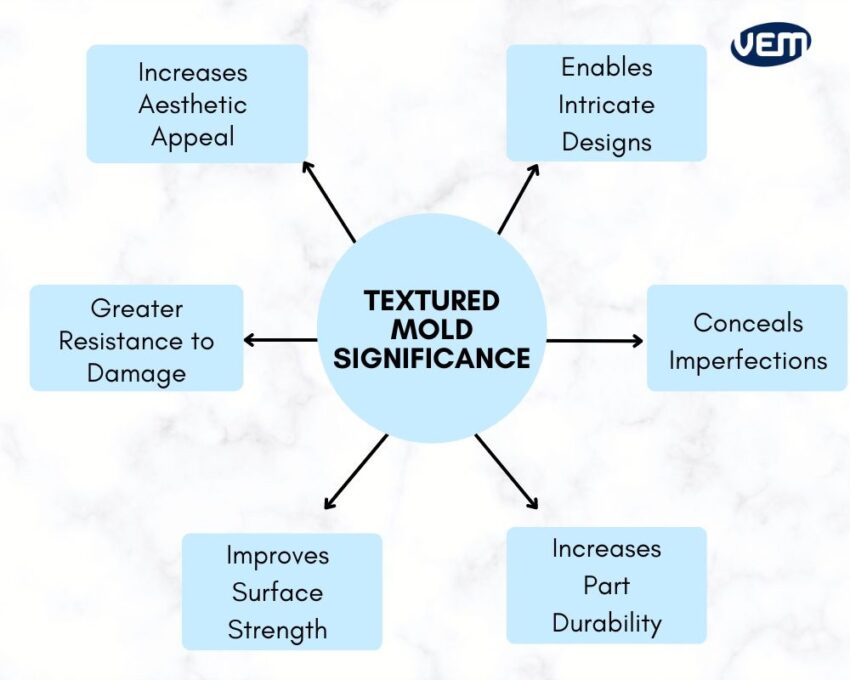
Depending upon how the mold is constructed, several slides move in and out to inject and release the part. The surrounding areas create separation lines that might not be aesthetically pleasing. These lines can be concealed through textures or finishes.
Surface textures improve aesthetic appearance by concealing various defects such as flow lines, sink marks, burn marks, etc.
Texture on injection mold can also help with various other factors such as grip and paint adhesion. It also allows gasses to escape from the mold during the injection.
Textured finishes offer better grip qualities thereby improving upon the slip resistance thus, making it easier to hold the part. This aspect further improves the usability of the product. Thus, slip-resistant products typically employ injection molding surface treatments.
There are various factors involved in choosing a surface texture and one of the most important aspects is the surface finish standard and its grade categories. Let’s understand further:
SPI, abbreviated for the Society of the Plastics Industry, sets the standards for plastics industries in the United States. You must note that the part’s surface features must abide by the surface finish standards of the SPI.
These standards include twelve different SPI surface finish grades. These grades are grouped into four categories.
The shiny finish category includes high gloss finishes on hardened steel molds and the SPI grades are indicated by A-1, A-2, and A-3. The finishes of this category are shiny and smooth.
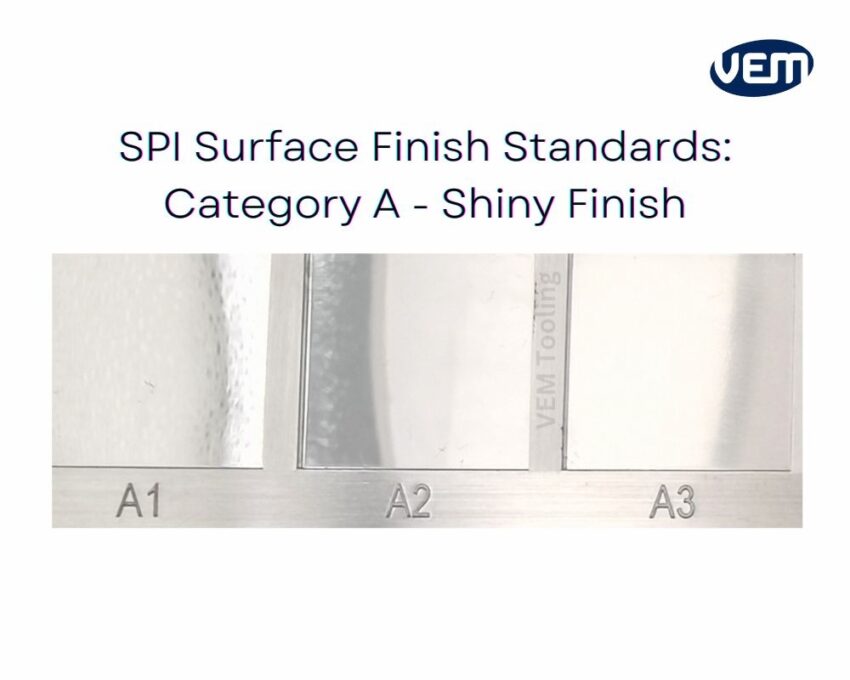
Typically, the steel molds are buffed with a rotary tool and through a fine diamond powder suspended in oil to achieve a mirror luster. These grades are expensive and are used to create visors and plastic mirrors.
This category includes semi-gloss finishes on hardened steel molds and the SPI grades are indicated by B-1, B-2, and B-3.
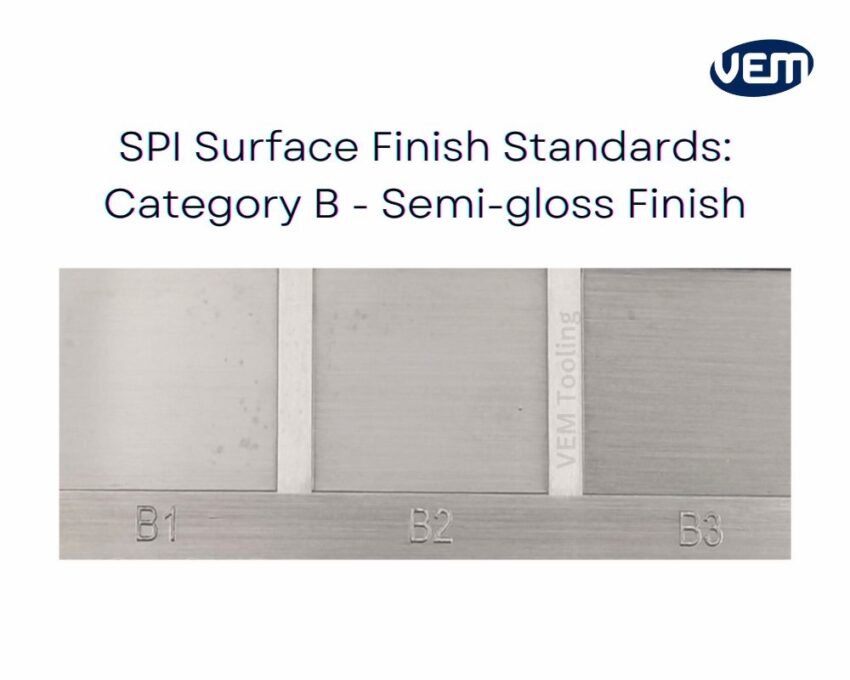
Here, the molds are polished with ultra-fine grit sandpaper and the finishes are carried out with some sheen. Typically, B-1 requires 600 grit, B-2 requires 400 grit and B-3 requires 320 grit. This category has enough concealing properties to cover various manufacturing flaws.
The finish is applied in the back and forth motion thus, during the pattern production, linear scratches are formed on the molded part.
This category includes matte finishes on hardened steel molds and the SPI grades are indicated by C-1, C-2, and C-3.
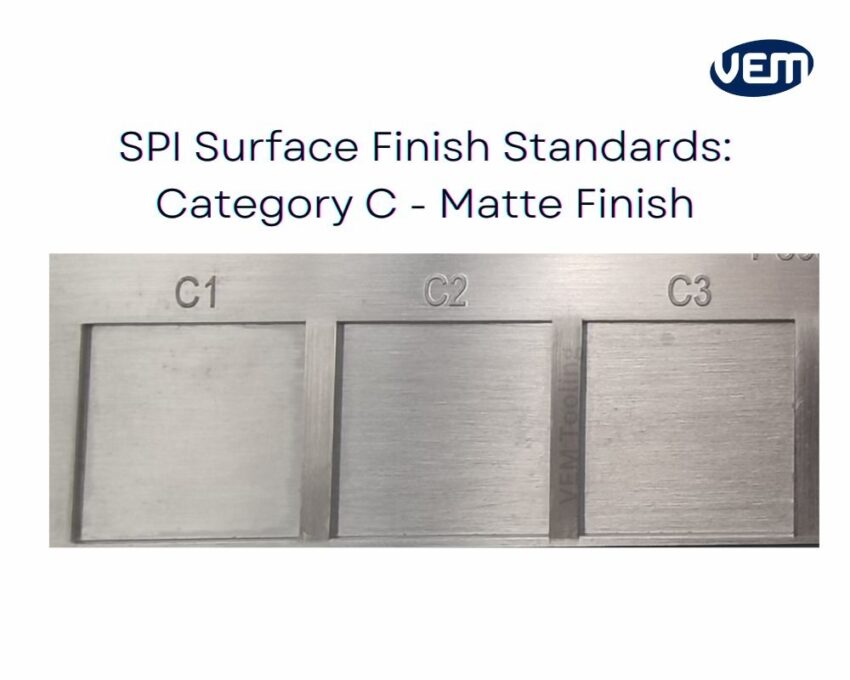
The matte finish is achieved by polishing the surface with fine stone powders. The stone grit ranges from 600 to 320 and these finishes create a flat, rough surface. These grades are best applied for thermoset industrial parts and they don’t show tools or machining marks defects.
This category includes textured finishes on hardened steel molds and the SPI grades are indicated by D-1, D-2, and D-3. This finish gives the surface a good grip characteristic and is an effective way of concealing various types of injection molding defects.
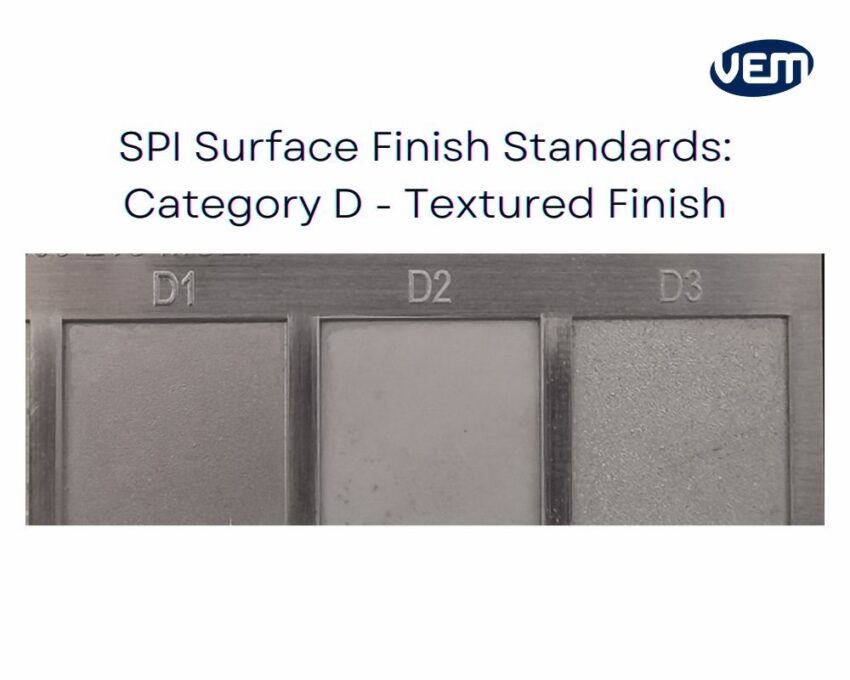
The mold is first smoothened with fine stone powder and then it’s dry blasted with aluminum oxide to achieve the finish.
In addition to the SPI surface finish standards, various other fundamental factors should be considered for choosing the best surface texture for your parts. Let’s understand these factors further:
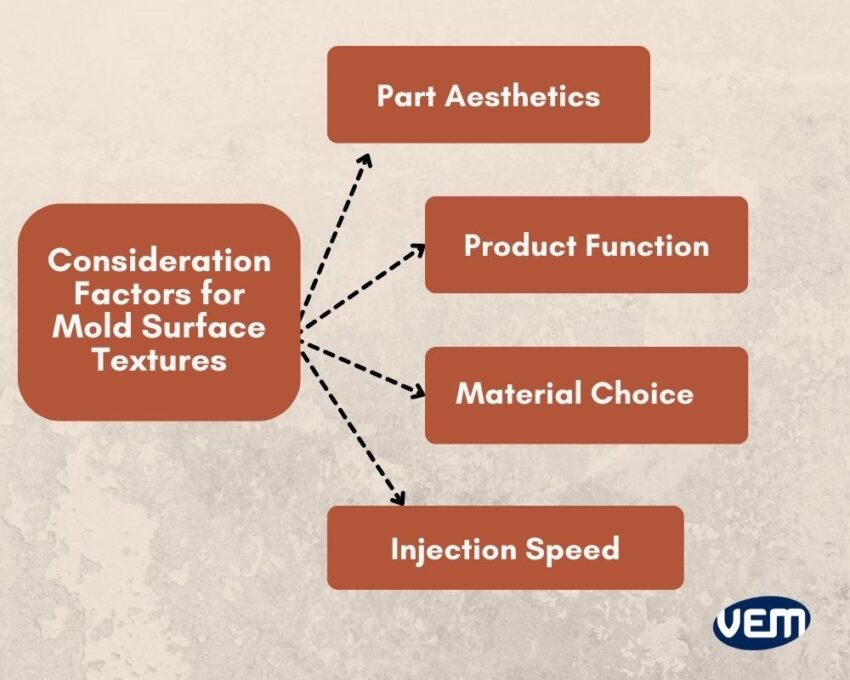
The part aesthetics will help you determine the surface textures of the mold.
The mold texture aims to improve the part’s appearance thus, you need to consider and prioritize the type of aesthetics for the part.
In addition to the aesthetics, the mold surface texture must be determined as per the intended function of the part. The mold design expert must consider the functionality to ensure that the chosen surface texture enables the part to perform its functions.
It is crucial to consider various materials for choosing the surface texture of the mold as all materials demonstrate distinct physical and chemical properties. Various properties such as melting temperature and crystallinity play an important role in the ability of the resin to deliver a specific surface finish.
The injection speed of the resin is another factor that needs to be considered as it helps to determine the surface finish of the mold. For instance: Glossy surface finishes require a faster injection speed as it helps in the faster filling of the mold cavity.
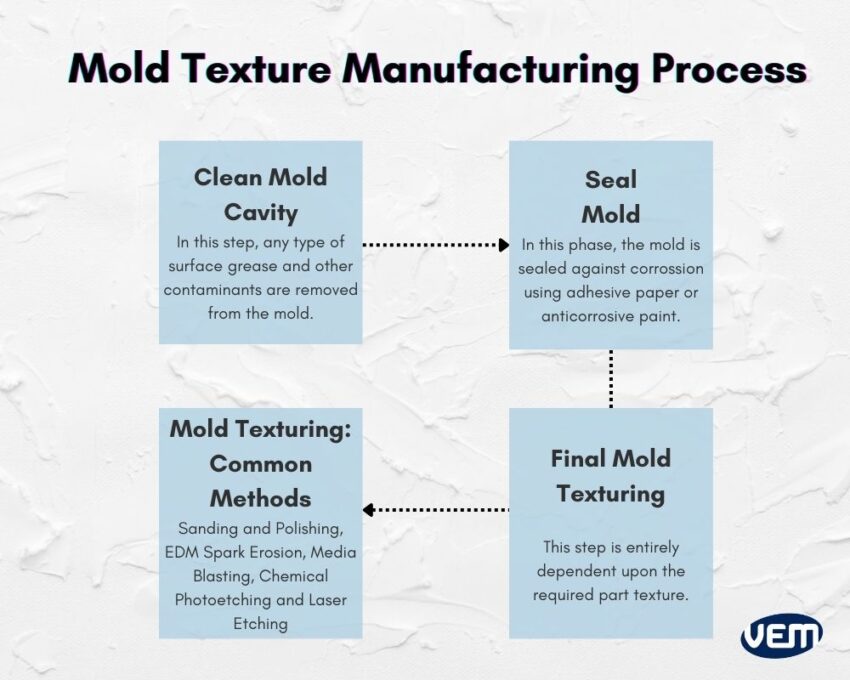
Injection mold with surface textures requires further production steps. In this section, we discuss how to prep a common mold for applying texture.
The first step is to clean the surface of the mold cavity. In this step, any type of surface grease and other contaminants are removed from the mold. This step is crucial as any type of contaminant can affect the surface when performing subsequent processing.
This is one of the most extensive and time-consuming stages of creating textured molds. In this stage, the surface cavity of the mold that does not need to be marked is coated with adhesive paper or anticorrosive paint to prevent any type of corrosion. It is typically sealed in the following way:
This step is entirely different and dependent upon the required texture. We have explained the various methods of applying surface textures to injection molds in the next section.
An injection molding tool must be carefully manufactured and there are various methods of applying surface textures and patterns to molds. Let’s discuss some common methods in this section:
Sanding and polishing are carried out with a variety of equipment such as rotary tools, diamond burrs, sandpapers, files, and other abrasives. The surface textures created through sanding and polishing range from mirrored surfaces to coarsely-grained surfaces.
This technique requires skills and a particular degree of artisanry, and molders must ensure that the dimensional tolerances of the mold are not excessively altered.
EDM, abbreviated for Electrical Discharge Machining, is also referred to as spark erosion. This technique uses a graphite or copper electrode placed in an electrolytic bath of water or oil. The electrode sparks against the tool wall when the electrode reaches a threshold current. The target melts but the surrounding electrolyte quenches it immediately which results in a thermal shock. This causes the metal of the mold to fragment into tiny particles.
EDM spark erosion works on both, hard and soft metals and it can also produce very tight tolerances. This method can deliver an extremely smooth finish.
It’s ideal for creating features that would be typically hard to machine conventionally such as deep thin slots and sharp concave corners.
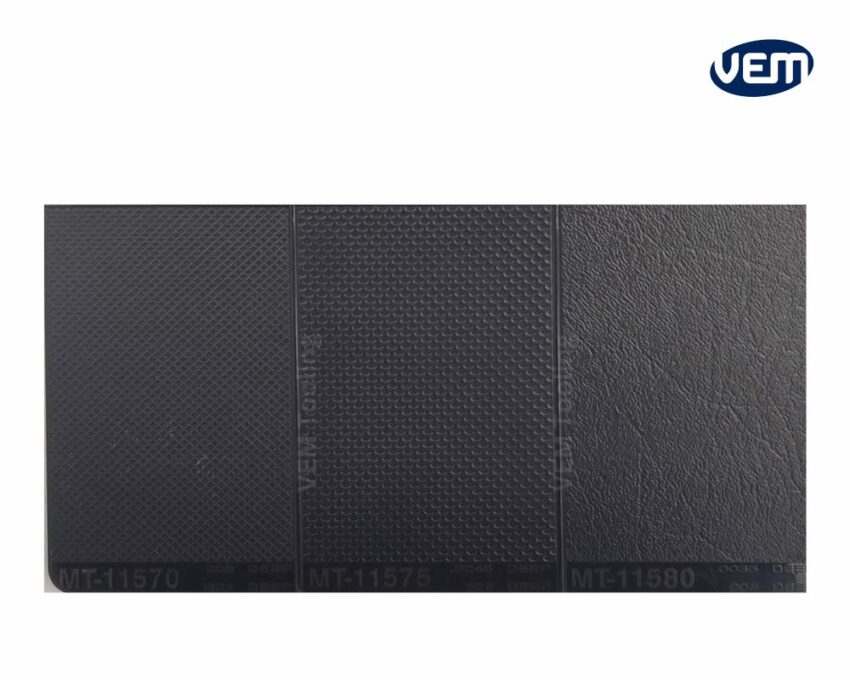
Media blasting is a fast and inexpensive method of creating surface textures. In this method, high-pressure air is employed to spray various types of abrasive media against the tool wall. The abrasive media can be dry or wet such as silica or sand, aluminum oxide, glass, and plastic beads.
Media blasting imparts an even matte and satin finish. The type of finished look is primarily determined by the media type, air pressure, volume, and spray pattern.
Chemical photo etching is a cost-effective method that can be applied to create any type of surface and very fine textures. However; this method cannot be applied to any area where the line of sight is blocked such as undercuts.
In this method, the tool wall is coated with a photoresist, a light-sensitive chemical. Now, the desired pattern is projected onto the tool surface with a UV light that cures the areas it touches. The rest of the photoresist gets washed away, leaving behind a film mask.
The mold is now placed in an acid bath. This step helps to etch the unprotected areas which creates the required texture.
Chemical photo etching enables the creation of plastic parts with various types of in-molded patterns and textures such as the look of stone, leather, and abstract geometrical designs.
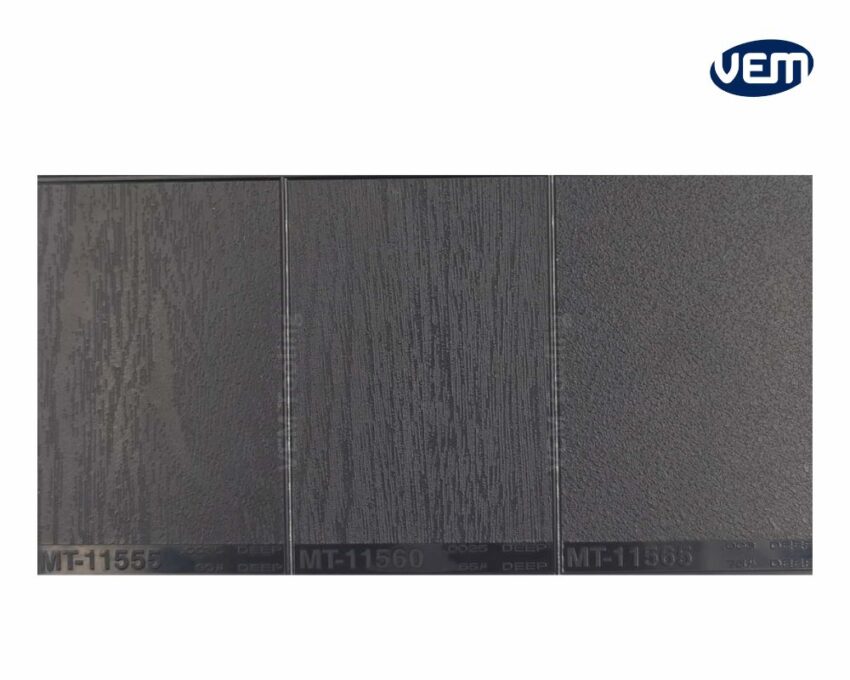
Laser etching makes it possible to map almost any texture to any type of curved surface through a combination of two technologies i.e. 3D computer modeling and 5-axis motion control.
3D computer modeling employs sophisticated algorithms to maintain the design’s geometry and allows the designer to take a map of the texture and align it with the contours of the moldable shape. 5-axis motion control helps the laser track the surface topology. It also helps to reach undercuts and other areas that are not easily visible.
Laser etching is more expensive than other methods as it creates the necessary 3D CAD models. However; it’s the method of choice for extensively demanding applications.
The aesthetics and functionality of the part are largely dependent upon the surface textures of the mold. The specifics concerning the surface finish requirements must be accurately enlisted.
Creating a textured injection mold is typically more complex than a regular injection mold thus, it’s imperative to choose an experienced plastic mold manufacturer. At VEM Tooling, we can assist you with selecting the apt surface treatment for mold texturing.